Showing posts with label Before and After Projects. Show all posts

Monday, April 14, 2014

More DIY... a big boy's room

It would seem that I'm always working on some sort of project, which if you're married to a budget man like I am and have the need to change things up, then yes... there's always going to be a project when you don't really have the means to buy everything brand new. 

I'm certainly not complaining. I actually do enjoy giving something old and ugly new life again. 
Lately I've been on the hunt for a desk for Quincy's big kid room. I finished his book shelf recently and needed to get him a desk for doing his homework and for additional storage. I was hunting on craigslist daily. Finally I found a nice solid wood desk that was the right size and scale for his room with the perfect price tag: $10.00. The added bonus was that it was only 5 minutes from our house to pick up. 

Now this isn't the first time that I've been guilty of getting too antsy to finish my DIY projects that I get them started before I realize I forgot to take my 'before' picture. So here is the desk... top already with a coat of black paint on it. Ugh. But you get the idea. It was brown before... and simple... and little to no hardware on the drawers, which I didn't mind since I was going to replace what was on there anyways. 

BEFORE: 

AFTER:
Don't mind the stool, it's a loaner from my parents until I can find just the right size chair for him. I dream of getting him a Ghost chair, but unfortunately those aren't in the budget. :( At least the stool is functional for now and it fits him fine. It could also be painted too.... though that means another 'project'. ha ha 
Will it never end?? 

Instead of having to tape off the drawers or paint the drawers I decided to get scrapbook paper and Modge Podge the sides of them. It's a nice pop of color when you open them and was less time consuming than tape or pant. I like the little details, like this. 
Even though the desk is pretty clean lined there are some details on the legs that look slightly feminine (to me at least) and seeing as how I wanted this desk in a boys room I opted for clean modern hardware which (hopefully) balances it out a bit more. 

I've been wanting to do something with these empty Nesquick cans. They were a good size for storage and even came with fitting lids. I came across an idea on Pinterest and put it in motion. I actually love how they turned out. I ended up putting felt on the bottom so they wouldn't scrape any paint off the painted bookshelf while Quincy slides them on and off to get toys out of them.I ditched the lids because they didn't go with the rope.

 I love a good re-purposed project. 
BEFORE:    and   AFTER: 
Prior to getting a desk I decided that Q needed some place to store his toys. The under-the-bed-in-plastic-totes-system wasn't working. It ended up being a huge mess under his bed and fight to get them back in bins when he could just "hide" them where no one was the wiser to his clean up methods. Plus I wanted to bring more books in his room for reading and up until that point they were all in the little boys room. 

I found a post for a FREE laminate bookshelf and the pick up place was 2 minutes from our house. I convinced Tyler to go pick it up with me. It wasn't in great shape, but I knew it had potential to be good. I came up with an idea of putting wainscoting on the back to give it some architectural detail similar to the detail in his twin headboard and foot-board and went to purchase primer and black paint. After also buying some new pegs for the shelf I spent maybe a total of $25.00. I think it turned out pretty good. 
BEFORE:
AFTER: 
I like that now he has a spot for all his stuff and it's still nicely displayed, but functional as well.. which of course was top priority! 


All in all, I think his room is coming together nicely. I'd like to get him new bedding, though his functions quite fine. And I'd LOVE to get some artwork on his walls, but for now... (as with almost all DIY projects) you have to wait for just the right time and price to come along before it'll be "finished". :)


Monday, March 21, 2011

DIY projects...

My mom has lent me her sewing machine so I could work on a few projects... so I thought I'd post what I've been working on.

I have lots of new nieces, nephews, and little cousins' babies being born so..... I've been sewing some practical burp clothes. I really liked that this flannel I found wasn't baby-ish, but rather more the modern mom type of print. I made these ones for my cousin who's having her first baby boy this June. With the scraps of fabric I made a little hair flower.

Okay, so the dress above I didn't make, but I DID find it brand new with the tags still on at our local Goodwill store for $4.99! I love Target and I love a good deal... I even love when I find a great target deal at the Goodwill. :) I can't wait until I can wear it without tights.... COME ON SUMMER! :)

Most of you wouldn't recognize this next shirt above...

It used to look like this:

I figure, why throw out a good shirt when you get tired of it? Why not try and make it into something else that's fresh and new? The sleeves on the shirt were getting little stains on them but I thought I'd attempt some imagination and make my own little shirt vest. I think it turned out cute. I had no patterns except a vague idea of what I envisioned it to look like. the pockets are the end of the shirt sleeves. And the ruffles along the neck were the sleeves themselves. It's not perfect, but was fun to make.

Another target deal at the Goodwill. I have been looking for a new wallet for a long time now and as most of you know cute wallets can get spendy! This cute one was at the Goodwill for $3.99. Bargain.

Okay so one of my other projects was making aprons for my nieces. I thought it would be a cute gift for them since they are little and will probably enjoy being helpers in the kitchen. My niece Lexi just turned 2 and her apron is different from this one above, but they are the same print. This one is for my other niece Rylie who will be 1 this fall.

As you can see Braxton is happy to model that it will be the appropriate size for a 1 year old. :)

So... my mom signed me up for a free years worth of Better Homes and Garden's Magazines. While I DO enjoy reading through them I find that magazines tend to just pile up so when I'm done reading and saving any articles worth saving... I cut them apart to make cards. Above some of the cards I've made.

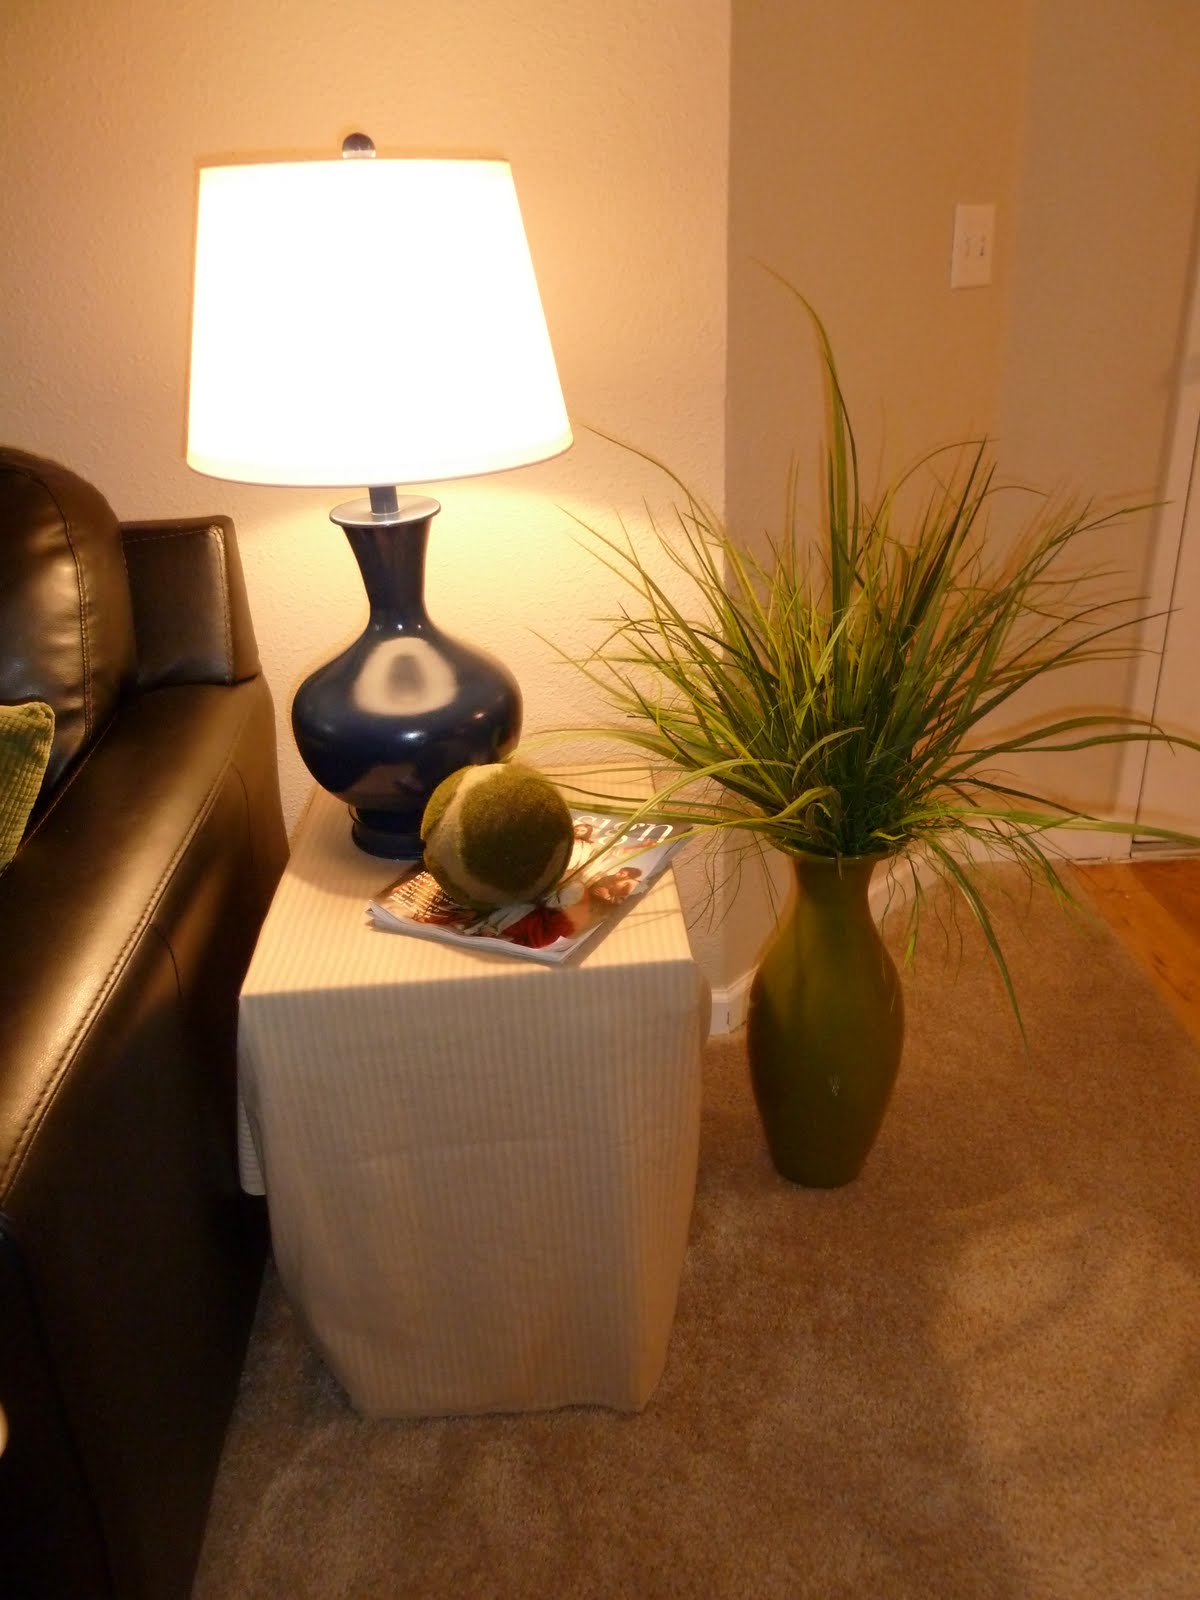
Alright.... so you're probably all well aware of the fact that I've redone this lamp like 3 times, but this is the LAST time! I've never quite liked the color and have recently decided to add navy blue and deep fuchsia/ purple to my living room color scheme of green, black, and white.... I really like how it turned out.

Here it is in the navy. Thank goodness for spray paint!

I also jimmy rigged up some side tables for my lamps our of cardboard boxes and covered them with our old living room window swag of fabric. They will do until I can find some tables I love/ can afford.

And speaking of lamps.... while at my favorite store, the Goodwill, I found a 2nd side table lamp. Though I wasn't a fan of the bright red color (at least not for my living room) it was the perfect shape and size to compliment the other lamp I already had.

A little spray paint, a new shade$10.00 shade from IKEA (which matches my other side table lamp) and voila`!! A nice table lamp for reading while sitting on the other end of the couch.

So because I have two side tables now I had to do some rearranging with my living room furniture. This sort of posed a problem since my living room shape limits the amount of furniture options I have... however, I think what I came up with turned out pretty nice.

Note the purple orchids are my one and only touch of that color in this room... soon I will incorporate more of it. I'm thinking a throw or area rug with that color in it. I also have navy blue curtains... but no curtain rod! :( On my list of things to do.....

Saturday, November 13, 2010

Project re-done!

Sooo.... after looking at my living room lamp each day, I had decided I DIDN'T like the color... it just wasn't the right color of green. I finally found the perfect color and re-did it. I think it looks MUCh better now!

BEFORE:

AFTER:

Tuesday, September 28, 2010

It only took me a year....

.... to print some pictures and hang them in these frames!

Monday, March 15, 2010

Before and After Projects.... fianlly....

It's been a long time coming, but I'm finally getting around to posting pictures of my many before and after pictures...

First, one of my big projects was Quincy's big boy bed. In our ward in Boise we had the pleasure of knowing the Lines family. When they heard that Quincy was transitioning from crib to bed they so generously offered to give us a captains bed they no longer needed. Of course we gladly accepted. The bed was a piece of furniture hand made by a member of their family, and Tyler will attest that it is very sturdily made! The only thing I didn't like about the bed was that it was painted white. I don't think there are very many parents in their right minds who WANT white furniture for the toddlers. I've always felt that it just screams: "COLOR ALL OVER ME WITH CRAYONS, MARKERS AND PENS!" So the once white bed was repainted black. A very safe color for a little 2 year old boy, if I don't say so myself.


Second, I had a project of sewing some throw pillows for Quincy's bed and a matching changing pad cover for Braxton. I came across the fabric at Goodwill... although it was from IKEA originally. Since my sewing skills aren't anything fabulous, my capabilities include sewing in straight lines, my mom came to the rescue. I think we did a great job coming up with a useful way to incorporate that cute hippo fabric I bought from the Goodwill.


Third, were my projects in the living room. I was fortunate to "inherit" a piece of furniture from my great-grandma on my mom's side. She had this cute little coffee table that was made by her son in a shop class in high school. The best thing about the table, aside from it style and great quality, is that the legs unscrew for transporting. This little special feature was great when we were moving from college and lacked room for odd shaped things. I love the coffee table, but wasn't fond of the light colored stain on it. After several hours sanding and re-staining I was unable to get the dark ebony color I was hoping for. I spent another few hours re-sanding and stripping it to start over. This was the worst part, but I found the perfect way to refinish it.... with India ink. Yes, it's ink for caligraphy pens. After painting on the black ink, I sealed it with a smooth clear finish. I think that it turned out great. Now it looks more modern and goes well with our other furniture.


Fourth, was my lamp purchased from the salvation army.....I have found some of the best table lamps from second hand stores. This lamp was a lovely copper color, which wasn't so horrible, but not what I had in mind. Also, the lamp was missing the shade. No worries. I primed it with some spray paint and then then sprayed on a green color. I was able to find the perfect shade at..... IKEA. You've gotta love IKEA! And ta-da...... a brand new custom lamp.


Fifth, was my mirror project. This one was a little involved to say the least. This mirror was something else I found at the Salvation Army. It was regularly $25, which wasn't a terrible price seeing as how the mirror is 3X5 feet big, BUT I went on their 50% off day and so I got it for $12.50! Not too bad. After purchasing some wood from Home Depot and more India Ink.... I was back to $25, BUT mirrors are expensive, especially one of that magnitude. I don't feel so bad because now I have a custom mirror that packs quite a punch up on our wall.


Sixth, were my shadow box picture frames from IKEA. They were bought brand new, but I wanted them to look more custom.... SOooo I used some leftover fabric from the rocking chair I re-covered in Quincy's room to go over the mat inside he frame. I think they look nice and add a little more color on my walls... since I can't paint.

Seventh, was replacing some curtains in our bedroom. Now the curtains we had before weren't SO bad, it was actually one curtain turned sideways and cut in half to make two. a few weeks ago I just happened to be at the Goodwill down the street from us when I saw two matching 7ft tall, blue curtains that were brand new, still in the bag, from Target. Of course I had to get them. I only paid $19.98 for the both of them... which was less than half of what I would have paid for one of them alone.


And my Eighth and last project was Braxton's cradle. Again, while I was at the Salvation Army with my mom we found the perfect size cradle for Braxton. Although we have a crib, we never had a small bassinet or play pen for baby before they slept in our room. After comparing prices of play pens I decided that for the few months Braxton would be sleeping in our room this cradle would be perfect. It was $5.00.... and of course I managed to be shopping for it on 50% off day... so I paid a whopping $2.50 for it. Again, the white paint had to go... so I used the leftover paint from Quincy's bed. Then I happened to have a pillowcase from Quincy's new bedding that fit perfectly as a 'fitted sheet'. Everyone who comes over and sees it thinks it's the cutest thing, but for us it's just practical.


Stay tuned over the years, because I'm sure I'll have many more 'before and after' projects. If only I remember to take pictures!